Are you fed up with wigs that take up too much of your precious time to even wear let alone the time wasted on taking proper care of them? Want a wig that not only requires low maintenance but is also extremely easy to put on? Look no further for this article will give the ultimate solution called glueless wigs.
How To Prepare Your Glueless Wig?
Proper Fit Of Glue Less Wig
First, measure your head to ensure that you purchase a glue less wig that fits properly. You must not forget to measure the circumference of your head. Also do the additional measurements from your hairline to the nape of your neck, which will give you a good idea about the dimensions of your head.
Cleaning & Conditioning Needed For Glue Less Wig
The next step is to clean your scalp and natural hair thoroughly. Cleaning your scalp, hair and forehead will ensure that the wig cap adheres properly and stays in place. You can use a gentle shampoo to cleanse your hair and scalp. After cleaning and conditioning your head, you can put on a wig cap.
Proper Wig Cap For Glue Less Wig
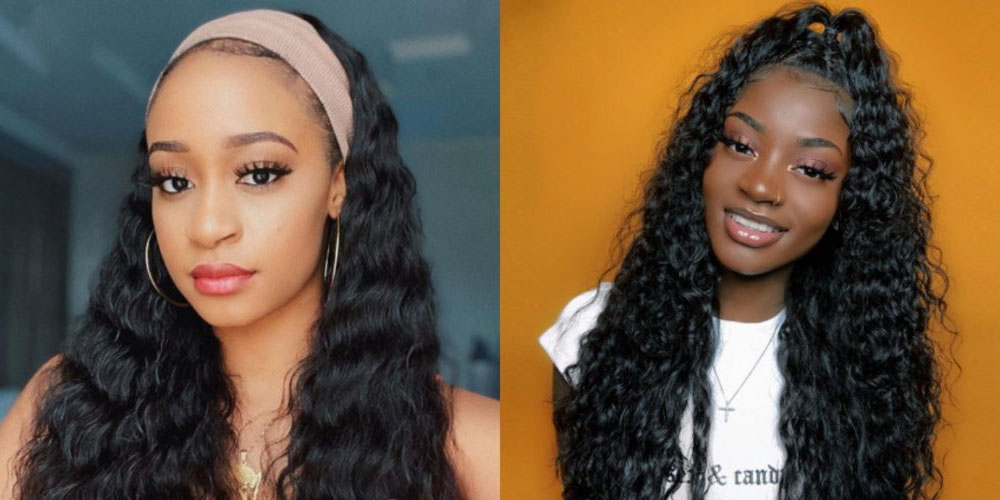
A wig cap is a piece of fabric that is placed over your natural hair to provide a base for the wig to attach to. The cap will keep your natural hair flat and prevent any bumps or lumps from showing through the wig. The wig cap helps the glue less wig sit comfortably on your head covering your natural hair completely.
Trimming & Styling Of Glue Less Wig
Lastly the lace of a glue less wig is easy to trim using a small facial fuzz removing or eyebrow razer. The lace of a glue less wig is generally transparent. Once the wig is secured in place, you can style it as desired using a wig brush or comb. You can also use heat styling tools to curl or straighten the wig but be sure to use low heat settings to avoid damaging the wig fibers.
How To Put On A Glueless Wig?
Secure Your Natural Hair
First, prepare your natural hair by brushing it back and securing it with bobby pins or a wig cap. Make sure that the wig cap completely covers all your natural hair, keeping your hair flat. Avoid any kinds of bumps or lumps on your head to show through the wig cap.
Proper Placement Of Wig
The next step is to position the glue less wig on your head to determine the proper placement. You can adjust the elastic straps or combs or clips that are available on the wig cap to ensure a secure fit. Once you have positioned your glue less wig, use a wide toothed comb or your fingers to gently adjust the wig to fit comfortably on your head. You need to make sure the wig is snug and secure but not too tight.
Trim The Wig Lace
Though the lace of a glue less wig is usually not easily visible to the naked eye, use a pair of scissors to trim any excess lace along the hairline of the glue less wig. You can also use facial hair fuzz removal razors to trim away the excess lace of the glue less wig. Be careful not to cut too much as you want to maintain a natural look.
Style & Further Secure Your Wig
Style your glue less wig as desired using a comb, brush, or your fingers. You can also use different styling products to achieve your desired look. Finally, make any necessary adjustments to the glue less wig and ensure that it is comfortable and secure. You can also use clips or bobby pins to secure the glue less wig further.
Final Words
The glue less wigs of the brand “ishowbeauty” don’t require any type of adhesive, meaning your forehead and scalp will not dry out rather will remain hydrated. The lace of ishowbeauty’s glue less wig cannot be easily detected giving your hair a natural look, along with baby hairs in the front part of the lace.